What is a 3D drawing anyway?
What exactly is the difference between a drawing in 2D and an image in 3D? The answer is relatively easy to understand.
When you draw in two dimensions, you do not consider the volume of your subject on your drawing, but only height and width. When you draw in 3D, you integrate a third dimension: depth.
Needless to say, this third dimension makes a drawing much more realistic, because it remains true to the smallest details that the eye observes in reality. In a 3D drawing you can capture depths, distances and proportions.
From perspective representations to real optical illusions, the 3D drawing takes different forms, for which you should already have profound painting knowledge. More: https://www.fnweb.de/fraenkische-nachrichten_artikel,-wertheim-von-3d-druck-bis-grafikdesign-_arid,1709894.html
How do artists manage to present their drawings perfectly in three dimensions? How can you make a sheet of paper not look flat anymore?
The first thing you need to learn to add volume to your drawings is to draw from a certain perspective.
How can I draw from different perspectives?
Perspective drawing is a technique that allows you to draw an object in a room in three dimensions. The drawer respects the depth of the space and reproduces the object as it is seen from his perspective.
Cavalier perspective adds volume to an object by adding dashed lines parallel to the visible lines. This type of drawing can be found, for example, in geometry in the representation of a cube.
The linear perspective is often used for drawing. To create a good linear perspective, one relies on two elements:
A horizontal line
One or more vanishing points
Based on these elements, you can create a grid by drawing lines, which allows you to draw a realistic scene. There are several types of linear perspectives that you can use to add depth and volume to your drawing:
The frontal perspective: The eye looks at the object from the front. The drawing is based on a horizon line at eye level and all lines converge in a vanishing point.
The perspective with 2 vanishing points: Here you look in two directions and there are two vanishing points. You can draw a cube or any other geometric shape and take into account the depth in space.
The perspective with 3 vanishing points: Here you consider all dimensions of the object and work with three vanishing points. This is the most realistic perspective, which is especially popular in architecture, e.g. to represent a building.
To get a realistic drawing, you need to be able to work with perspectives. For a successful 3D drawing you have to learn these techniques. You have to train your eye and understand the proportions of the objects. If you want to draw people and objects in three dimensions, you need to understand the effects of depth in space.
Some artists and painters also use the color perspective. This can be compared to a photo camera. The perspective is based on impressions. The foremost layer in the picture is shown clearly and precisely, further back the details become more and more blurred. Especially in painting people like to play with colors and shadows to generate this effect of depth. The colder and weaker the colors, the further back a layer is.
Do you see how the colors further back become lighter and less accurate? | Source: Pixabay
This technique was developed in the 15th century and was used by most of the famous painters of that era, including Leonardo da Vinci for the Mona Lisa.
Creating an optical illusion with a drawing
Artists who can draw with perspectives make a greater impression with their works than others. The objects literally seem to protrude from the picture and take on life. Examples are tattoos with 3D optics, which look as if a spider is sitting on the body, or comic heroes, which fly out of the magazine to the reader.
How does that work? With another drawing technique: anamorphosis, also called the secret art of perspective. Anamorphic illusion is a technique that allows artists to create optical illusions in their drawings, using a process to deform the image. If the painting succeeds, one gets the impression that it is alive and has highlights.
This impression is an optical illusion, which can usually only be perceived correctly from a precise angle. So when you look at an anamorphic drawing, you have to look at it in a certain way to notice the 3D effect. From other angles the drawing looks deformed.
But how does a drawing that comes out of the drawing paper work?
Exactly, with the right technique. Not only do you need to be able to deform your drawing correctly, but you also need some drawing techniques to get a realistic result. There are many steps between the first sketch and the final realistic drawing. You must be able to draw every detail of your object faithfully and know how to color your image.
Many street art artists play with optical illusions and 3D. | Source: Pixabay
To create an anamorphosis, you need to be able to deform the image you want to display on your sheet. This technique
These techniques can help you to get an anamorphic drawing:
Use a camera and photograph your object to use the photo as a template.
Use a tool to deform your object as you want to represent it and then draw it.
Use a grid to draw your object in the correct proportions.
Cut off a part of the contours of the object to enhance the 3D impression.
Use multiple sheets or fold one sheet to create volume.
Many artists have become known for their anamorphic works, e.g. Ramon Bruin. Anamorphosis is also very popular in street art: many artists like to create the impression on the street that you are falling into an abyss. Have a look at photos of the works of Edgar Mueller or Jolian Beever – very impressive!
Have a look at the profiles of our teachers
With these videos you can learn 3D drawing
To practice 3D drawing, you should know the most important techniques for these drawings. You can get free tips with many online tutorials, e.g. from YouTube, to improve your sketches and create better and better and more realistic 3D drawings.
There are video tutorials for all levels, whether you are a beginner or advanced painter.
We’ve picked out some good YouTube videos that will teach you how to draw different shapes and bring your paintings to life.
Let’s start with something very classical: Here you learn how to draw a cube realistically.
In this video you will learn how to create the impression that your drawing paper has a hole, similar to what many street artists use.
Here you create a true 3D effect on your drawing paper and it looks like a real snake is lying on your drawing.
Getting 3D drawings done with drawing computer programs
There are many tools you can use to spread a 3D effect. In many different professions you can display simple drawings in three dimensions.
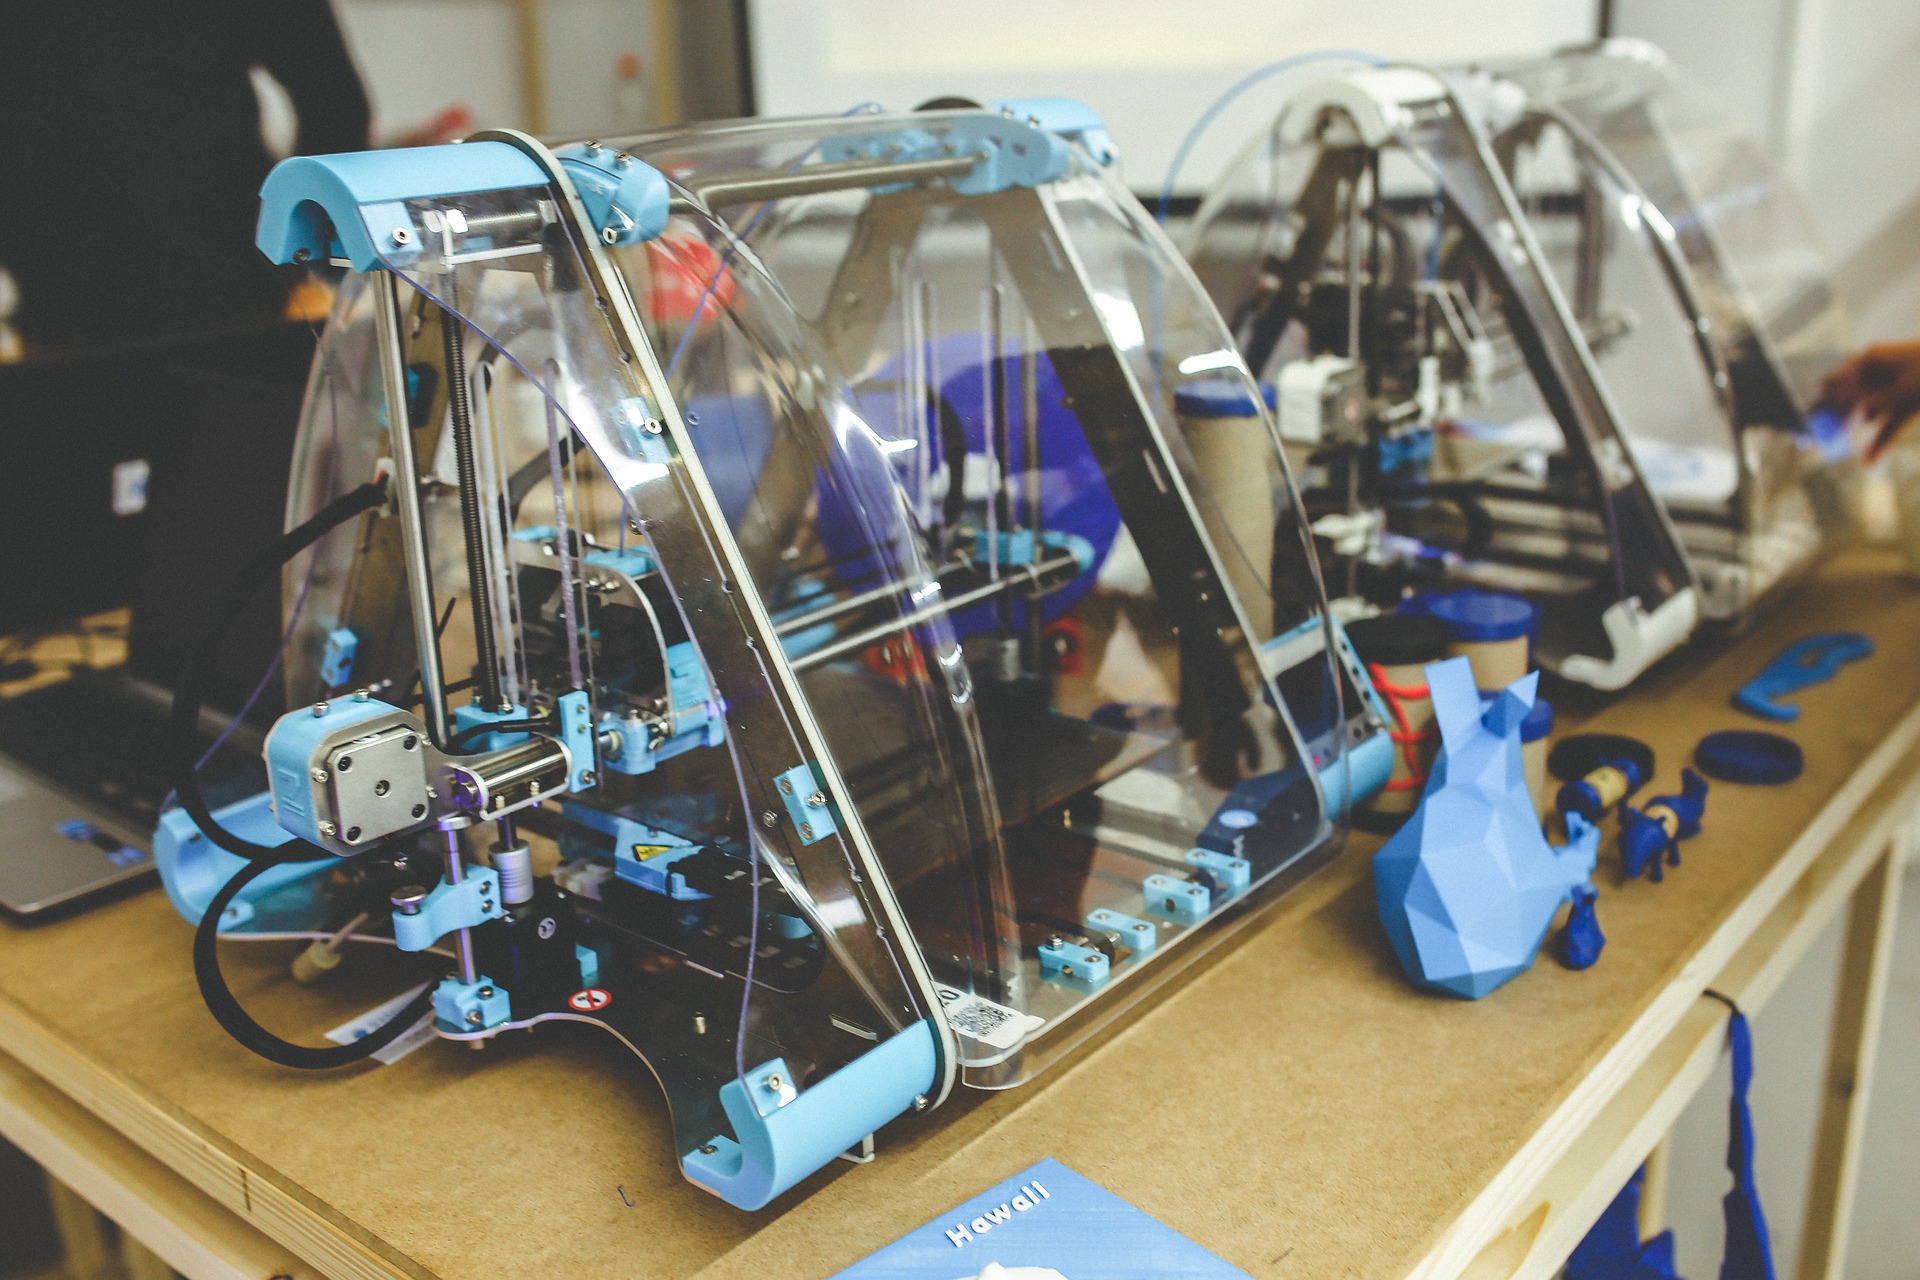
3D architecture software, 3D modeling, industrial design, design software or 3D animation software…. Today 3D is everywhere. It is even slowly being overtaken by augmented reality and 4D cinema. Now, thanks to 3D modeling software, creations can also become reality with a 3D printer.
As an animator, you can easily find a free drawing tool. These are mostly self-explanatory and easy to use, allowing you to familiarize yourself with the third dimension in drawings.
But which tools are best suited for 3D drawings?
Of course it depends on your needs. You can use an online program for your 3D drawings or you can download a software to your computer. Here are some examples of 3D programs:
Photoshop: A must have for all graphic designers. With Photoshop you have endless possibilities to create and edit images.
Krita and Artweaver are also drawing programs that have proven to be useful.
Google Sketchup: Perfect for 3D modeling, originally developed for architecture and interior design.
Blender: This program is used for modeling and 3D animation.
AutoCAD: One of the most used tools for 2D and 3D design.
Manga Studio EX is perfect for creating comics and mangas.
The best apps for 3D drawings
If you want to learn 3D drawing, you can also use apps for your smartphone or tablet.
There are many good apps that you can use to create 3D drawings. | Source: Pixabay
After all, you have them with you everywhere and all day long. So you can easily improve your 3D drawing techniques as soon as you have a moment, e.g. during your lunch break or on the train. With your cell phone or tablet you can learn to draw volume and add a 3D effect. Total in trend. No matter if you want to learn to draw for professional reasons or if you are privately involved with the technology, there are many apps that are suitable for learning to draw 3D. We have picked out a few apps that show you the many possibilities you have with such apps. There is something for everyone!
How to draw 3D and illusion: Learning 3D drawings with videos
This app is very pedagogically designed and teaches you how to draw three-dimensionally with the help of video tutorials. Here the best YouTube tutorials are combined to 3D drawings, which is very useful if you don’t feel like searching the whole internet for useful videos yourself. The app is updated every week and in just one click you can regularly discover new videos on 3D drawing techniques.
Tilt Brush: 3D drawings in Virtual Reality (VR)
Tilt Brush makes it easy to create three-dimensional virtual reality drawings. Even though this might not necessarily be about 3D drawings on a piece of paper, you should not miss this experience and discover with this app what you can do with 3D. With 3D glasses and headphones you can let your creativity run wild and create a virtual universe in 3D.
Leopoly: Draw people in 3D
This app is available for tablets and computers. With it you can represent people in three dimensions and edit them with numerous tools that you can find in your toolbar. Especially the Manga and Comic fans among you will have a lot of fun with this app, because you can write – and draw your own story.
Tinkercad: 3D modeling for beginners
Tinkercad is an Autodesk App. Autodesk offers many apps and programs for professional and amateur draftsmen and graphic artists. With Tinkercad you can easily draw in 3D, because the interface is absolutely user-friendly and easy to understand. You can bring your creations to life by printing them with a 3D printer.
Tinkerplay: 3D drawing for kids
Tinkerplay is also an app by Autodesk and very popular with children. It makes it very easy to create people and creatures in 3D. You personalize a template and combine several suggested elements. A great app for beginners and to give a little nudge to your imagination. You can then print out your 3D characters.
3D Drawing: Which 3D pens are suitable?
When you talk about 3D drawings, you also have to talk about which pen is best suited for this kind of painting.
What is a 3D pen?
A 3D pen is an innovative tool that works similar to a 3D printer. A 3D pen allows you to write and draw in three dimensions with a very simple principle. The pen heats the material it draws with, which cools down (more or less quickly) when it hits a surface.
So you can draw in three dimensions very easily. You can use an object to trace the contours in three dimensions, draw several parts and then put them together or give your creativity free rein.
A 3D pen can contain two different types of plastic: ABS and PLA. The choice of material is important for the result and it depends on what you want to achieve:
ABS cools down immediately, which is good for 3D drawings. You can easily create shapes and be sure that the structure will hold. You can draw straight lines, spirals and various shapes in three dimensions. But ABS is also suitable for writing in 3D and then sticking your creations together. ABS is a plastic made from petrol.
PLA cools down a little slower, so it takes longer for this plastic to solidify. For this reason, PLA is better suited for 3D writing, because it sticks better to a base, e.g. cardboard, metal or ceramic. PLA is mostly biodegradable and biologically produced.
With a 3D pen you can create unique objects. | Source: Pixabay
How do I choose the right 3D pen?
3D pens are comparatively inexpensive (especially compared to 3D printers, which private individuals can rarely afford or want to buy) and therefore very popular. Artists, whether amateurs or professionals, who are interested in three-dimensional drawings, children, who can spend hours on end, hobbyists, who simply want to make small objects themselves – there really is a very broad target group for 3D pens.
The first 3D pen was the 3Doodler. Today there is already the 3rd version of this pen, an absolutely reliable pen with which one can draw precisely and which is already available at fair prices. But today there are many 3D pens in all possible price ranges.